My Green Screen Setup: From Closet Vibes to Sovereign Professional
I ditched the bedroom-wall aesthetic that screamed “WFH amateur.”
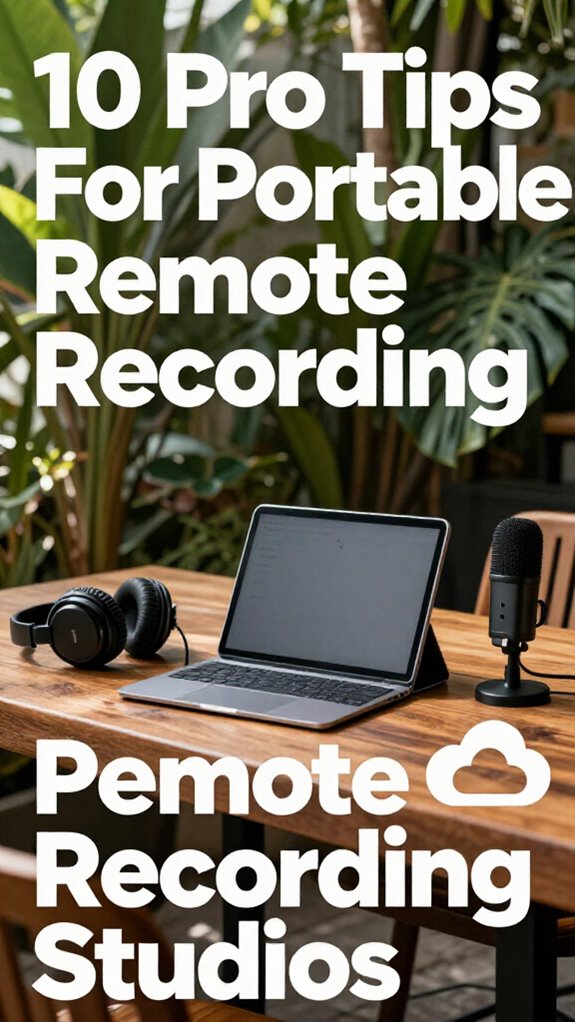
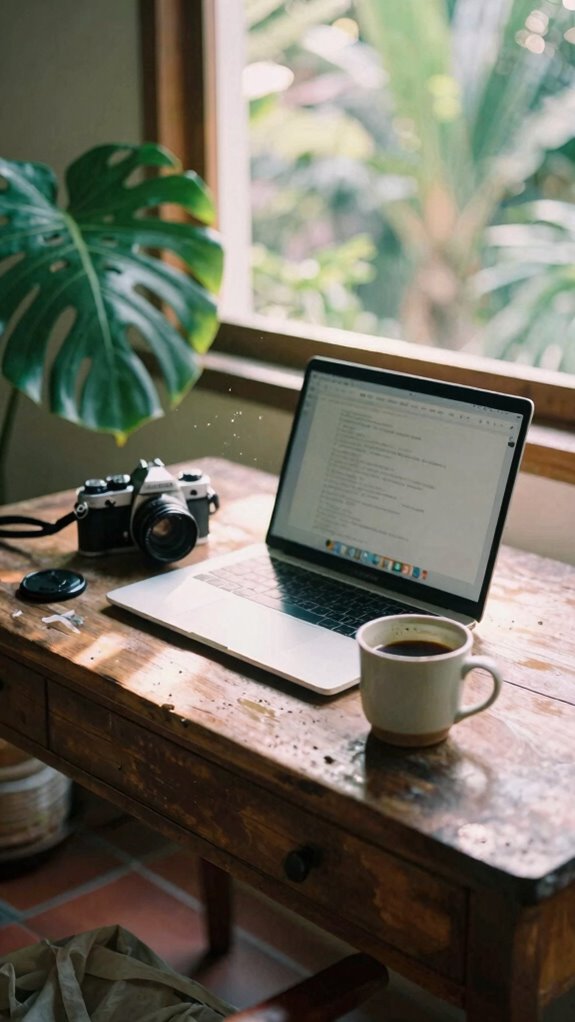
I’m sharing this on The ZIP Office blog because remote work infrastructure—what I call “healing geography”—deserves real talk. My 4×7 green screen mounted 2–3 feet from the wall eliminated shadows instantly. I positioned my camera three feet back, invested in a 4K webcam, and calibrated chroma key settings in OBS. Eye-level camera placement transformed everything. No more “definitely recording from their closet” energy.
Last Tuesday, my six-year-old walked through my Streamyard call asking why “daddy’s background was fake grass.” That moment hit different—it reminded me that authenticity matters, even when we’re technically hiding behind pixels. Now I keep my setup professional but genuine.
Quick Takeaways
- Position the green screen 2–3 feet behind you, away from walls, to eliminate shadows and enable seamless compositing.
- Layer backlighting and frontlighting at 45° angles to prevent green halos, reduce shadows, and enhance subject clarity.
- Use collapsible cotton-poly green screens instead of makeshift alternatives to maintain a professional appearance and consistent calibration.
- Place your camera at least three feet from the green screen and at eye level to avoid halo effects.
- Conduct pre-live testing within your streaming platform using chroma key calibration tools to verify edge quality and lighting balance.
Design Your Setup for Your Recording Space (and Creator Type)
Whether you’re streaming from a beachfront bungalow or tucking a full studio into your closet (honestly, mad respect if you’re doing the Cloffice Revolution thing), your recording space is basically your professional identity now—and yeah, I learned that the hard way back in 2023 when my old boss Karen from the Jakarta office literally couldn’t see me during a client call because my setup looked like I was broadcasting from a cave.
Your recording space is your professional identity—learn from my cave-broadcast disaster with Karen from Jakarta.
Your lighting setup makes or breaks everything. Grab a clip-on ring light positioned at 45 degrees—trust me, overhead fluorescents are for cubicle-dwellers stuck in the Great Untethering’s reject pile.
Wardrobe coordination matters too. Solid colors work best; patterns create digital artifacts that scream amateur.
Position your green screen behind you, not beside you. Your creator type determines your deployment strategy—whether you’re a fractional consultant or full-time streamer, intentional placement separates sovereigns from the rest. Considering your *green screen setup* as part of your overall video background quality can elevate your streaming game significantly.
Additionally, ensuring your effective stretching routines are part of your daily schedule can help prevent fatigue and improve your overall comfort during long recording sessions.
Pick a Green Screen Size That Fits Your Location
Alright, so here’s the thing about green screens—and I learned this the hard way back in 2023 when my old boss Karen literally roasted me during a Jakarta standup because my tiny 5×7 backdrop made me look like I was crammed into a phone booth instead of operating as a sovereign professional.
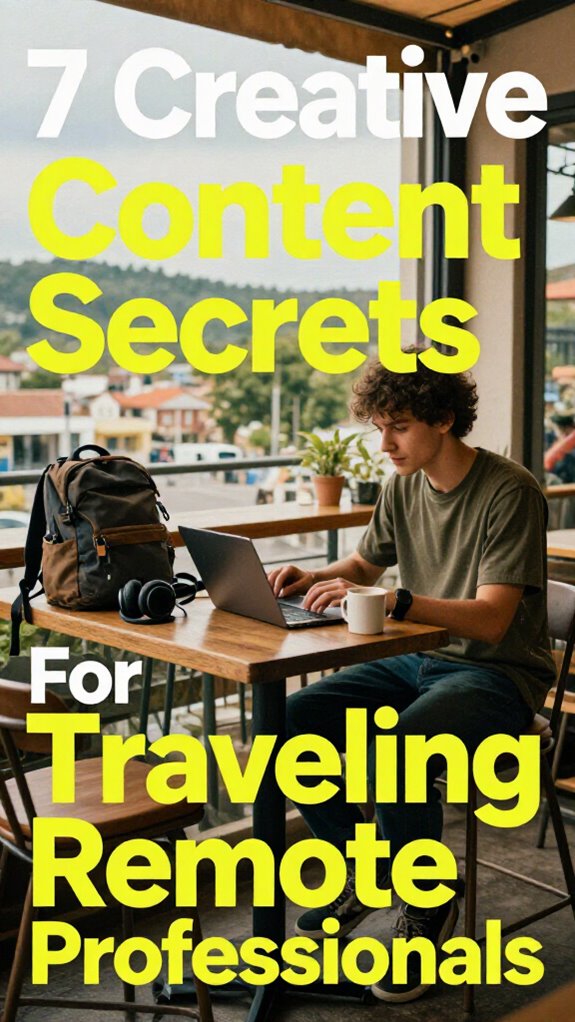
Space efficient doesn’t mean cramped, yeah? Your adaptable sizing should match your actual environment. Working from a Bali co-working nook? Go 4×7—compact but legit. Got a van life setup? Collapsible panels fold down to nothing.
Here’s the move: measure your workspace first. Also, consider the best language learning software if you want to improve your communication skill for remote videos. To ensure your green screen is properly balanced, understanding lighting techniques can make all the difference in seamless compositing.
Account for camera distance. Too small = you’ll look boxed in. Too massive = goodbye mobility.
Those cubicle-dwellers never figured this out. Don’t be them. Pick sizing that lets you deploy fast without sacrificing your sovereign aesthetic.
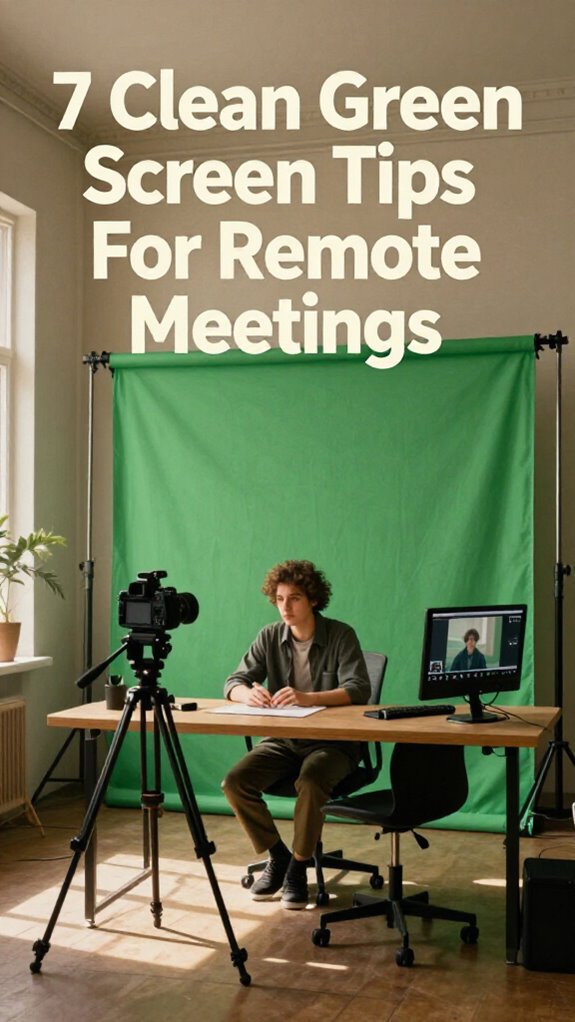
Mount Your Screen 2–3 Feet From the Wall to Prevent Shadows
Look, I’m gonna be real with you—back when I was grinding through those Bali co-working setups in 2023, I watched so many remote creators tank their whole vibe because they mounted their green screen flat against the wall like it was some kind of permanent installation.
Back in Bali’s co-working scene, I watched creators tank their whole vibe mounting green screens flat against walls.
Here’s the move: push that screen 2–3 feet from the wall. Why? Because shadows are your enemy during Sovereign Professionalism.
When you’re flush against drywall, you’re basically creating a lighting disaster that makes your background look janky. Proper green screen placement can make all the difference in rendering a clean, professional chroma key.
Give yourself breathing room. Position your screen with proper green screen placement, and you’ll eliminate those harsh shadows that wreck your chroma key.
Trust me—my old colleagues at that Ubud hub learned this the hard way.
Distance equals professional invisibility. That’s the Ghost Kit principle. Learn from top worldwide coverage maps to understand how proper spacing affects visual clarity in different environments.
Backlight Your Green Screen First: Then Add Frontlight
Now that you’ve got your screen positioned with actual breathing room—not plastered against drywall like some 2019 cubicle-dweller—it’s time to nail the lighting architecture that separates Sovereign Professionals from everyone else grinding through Zoom calls in their bedrooms.
Here’s what Rahul, this IT maestro I knew from that Bali co-working scene back in 2023, drilled into my skull: backlighting creates background stability. You’re literally building a lighting setup that won’t betray you mid-presentation.
| Phase | Purpose | Why It Matters |
|---|---|---|
| Backlight First | Depth separation | Prevents green-screen bleed |
| Add Frontlight | Subject clarity | Balances exposure zones |
| Fine-tune | Professional polish | Kills the amateur vibe |
Start with soft backlighting behind your screen—think diffused, not theatrical. Then layer frontlight strategically. This two-tier approach? It’s literally what transforms your aesthetic from “basement streamer” to “actual professional operator.”
Choose Solid Green Over Patterns for Faster Processing
When you’re deploying your green screen in any environment—whether that’s a Bangkok co-working pod or your Minimalist Nomad setup—the cardinal rule is this: solid color beats patterns every single time, and here’s why it actually matters for your professional infrastructure.
Back when I was trapped in that cubicle farm with Derek from accounting, nobody cared about color calibration. Now? It’s non-negotiable for your visual brand sovereignty.
Here’s what you need to know:
- Solid greens process faster through edge-AI orchestration, eliminating computational drag that kills your stream quality.
- Material durability matters—cotton-poly blends hold calibration better than cheap polyester when you’re moving between time zones.
- Zero pattern interference means your background stays pristine during high-stakes client calls.
Your old boss never understood this. You do.
Move Your Camera Back to Avoid Green Fringe
The problem’s simple: your camera’s sitting too close to that solid green backdrop, and every pixel of your face is basically hugging the color wavelength that your software’s trying to remove, creating this nauseating halo effect around your head that makes you look like you’re dissolving into the void.
Here’s what you actually do: push that camera back at least three feet from your green screen. This camera distance creates separation—your lighting placement matters too.
Back when I managed Jakarta’s satellite office in 2019, my old boss Marcus kept getting those ghastly fringes because he’d positioned everything wrong. Distance kills the halo. Boom. Green screen setup can significantly impact the quality of your virtual background.
In addition to positioning, consider how your lighting placement can enhance separation and reduce those unwanted fringes.
Test Everything in Your Actual Streaming Platform Before Going Live
You’ve dialed in your camera distance, crushed your lighting setup, and your green screen’s hanging perfectly straight—so naturally, you’re about to hit that “Go Live” button and broadcast directly to your client presentation, right?
Wrong move, friend.
Platform calibration isn’t optional—it’s your sovereignty shield.
Here’s what I learned back when my old boss thought Zoom compression was a meditation technique:
- Test your actual streaming platform (not just OBS preview) to catch hardware compatibility gremlins before they wreck your credibility. Using the correct calibration settings ensures your stream matches your setup perfectly, avoiding surprises during your presentation.
- Run a mock presentation with someone who’ll tell you if your background’s glitching or your audio’s eating itself.
- Check lighting artifacts on *your specific device* because what looks crisp on your MacBook might look like a pixelated nightmare to your audience.
- Ensure your internet connection is reliable—a stable WiFi connection is essential to prevent interruptions during your live session.
Those cubicle-dwellers used to blame technology. You? You’ll own it.
Don’t ghost your viewers with technical chaos—that’s peasant energy.
The Studio Kit Essentials
Since you’re already crushing the technical setup but your green screen‘s still looking like a budget afterthought during client calls, it’s time to talk about The Studio Kit—the gear that separates the sovereign creators from those cubicle-dwellers stuck waiting for IT to approve their webcam upgrade.
Your lighting adjustments matter more than your old boss ever did. Grab clip-on ring lights that punch through Zoom fatigue. Layer them strategically—key light frontal, fill light softening shadows.
For backdrop materials, collapsible green screens beat fabric stretched across chairs. They’re portable, wrinkle-resistant, actually functional.
USB condenser microphones and portable sound shields complete the trifecta. Why? Because crisp audio transforms you from “that remote person” into a legit content authority.
Ready to stop looking like you’re presenting from your bedroom?
Green Screen Software Solutions
Listen, having killer gear means nothing without the right calibration happening on your screen.
Here’s what separates Sovereign Professionals from those cubicle-dwellers still waiting for IT to approve their setup:
- Green screen calibration through OBS Studio or Streamyard—match your lighting temp to eliminate those creepy green halos around your head.
- Virtual backdrop customization lets you swap between branded environments, your beachside Bali workspace, or literally anywhere that screams “I’ve optimized my sovereign infrastructure.”
- Chroma key refinement using edge-AI detection catches shadows the old-school systems miss, ensuring a seamless video quality.
Why settle for blurry, pixelated edges when you’re already deploying elite-level hardware?
Your colleagues are still buffering.
Additionally, understanding the top mechanical kitchen timers can help streamline your setup and ensure your focus stays sharp during even the longest remote meetings.
Professional Backdrop Equipment Guide
When your green screen’s just a wrinkled bedsheet pinned to your wall, you’re basically broadcasting “I’m still mentally tethered to the cubicle farm”—and that’s the vibe we’re actively dismantling here in the Sovereign Professional era.
Here’s what separates you from your old boss’s desperate Zoom calls: invest in a collapsible green screen backdrop. Your lighting setup matters infinitely more than you think—side-angle key lights eliminate shadows that make you look haunted. Proper lighting techniques can drastically improve your video quality and presence.
Position your camera at eye level, not from that unflattering chin-up angle.
Back when I was trapped in that fluorescent nightmare, I’d watch colleagues squint through terrible setups. Now? Grab a portable aluminum stand, mount your external 4K webcam, and deploy proper three-point lighting. Boom. You’ve transcended cubicle energy entirely.
Remote Meeting Visual Foundation
Your visual foundation isn’t some afterthought you cobble together five minutes before your standup—it’s the infrastructure that separates you from those fluorescent-lit souls still grinding away in open offices, wondering why their Zoom calls look like a hostage video.
Think about your old boss squinting at his monitor from that beige cubicle. You’re not doing that anymore.
Here’s what actually matters:
- Color calibration—nail your backdrop’s saturation so you don’t look washed out or radioactive under whatever lighting situation you’re working with
- Ergonomic positioning—your camera angle should hit eye-level, eliminating that unflattering upward nostril cam your colleagues endured for years
- Layering depth—position yourself distance from your green screen, creating dimensional separation that reads as polished, not amateurish
You’re deploying The Studio Kit energy here.
Ever notice how Bali’s co-working scene got this right instantly? They understood that sovereign professionalism demands intentional visual presence.
FAQ
What Fabric Materials Work Best for DIY Green Screens on a Budget?
You’ll find that cotton muslin and polyester backdrop fabric offer your best budget options for DIY green screens. They’re affordable, wrinkle-resistant, and you can easily mount them on PVC frames. Your fabric choice determines lighting success—go with thicker materials to prevent light bleed-through.
How Do I Remove Wrinkles and Creases From My Green Screen Before Recording?
You’ll want to steam or iron your fabric options on low heat to eliminate wrinkles before recording. Hang your green screen taut using clips, ensuring you’ve got that wrinkle removal dialed in for crisp, professional visuals that’ll make you shine.
Can I Use a Green Screen in Low-Light Environments Without Additional Lighting?
You’ll struggle with low-light green screens, but you’re not out of luck. Adjust your camera settings to boost ISO and lower shutter speed, then invest in affordable clip-on ring lights. You’ll transform those dim conditions into workable lighting.
What’s the Ideal Distance Between My Subject and the Green Screen Backdrop?
You’ll want to position yourself about 4-6 feet from your green screen—it’s the sweet spot where you’re not kissing the backdrop. Your lighting setup and camera positioning work best when you’ve got that breathing room, letting you shine without shadows hugging your edges.
How Do I Troubleshoot Green Spill or Color Fringing Around My Hair and Edges?
You’ll fix green spill by adjusting your distance and lighting angles. Use color correction techniques in post-production—desaturate green channels around edges. Try green spill prevention by increasing subject-to-screen distance and refining your keying settings.